Dennis Stec has been a dedicated volunteer at Artengine in the last few years,. He helped us build the M70 Lab, install Nite Ride and did tech at Electric Fields. Seeing as he’s an old timer I thought it would be great if he started to also contribute some of the aged perspective to our blog. This is the first of his posts, and indeed his first blog post ever. Enjoy! . . . oh yeah he is also my dad. Go old man! Go!
So I attended a Nerdy meeting at ArtEngine on Wed Feb10.
It’s a gathering of interesting and diverse folks who share a common interest in technology as it relates to application, art, innovation, and dare I say some good old fashion techno-tinkering or some would say ‘hacking’, thus the start-up name: Ottawa Hacker Society (OHS). There’s an open easy flow of information on applications, hardware, past wins and/or frustrations!
 Ryan had invited me, thinking that I’d find the tech side interesting. He was always fascinated by some of my past automation projects. Back in 1972 my first techno application involved designing and installing a manufacturing work cell using an industrial robot that controlled/loaded/unloaded a milling machine. This was during the time when robots were just beginning to be used in the industrial world particularly in heavy, dangerous or highly repetitive environments. It was referred to then as ‘programmable industrial automation’ and the automotive industry led the way using these robots mostly for spot-welding their frames in an assembly line environment.
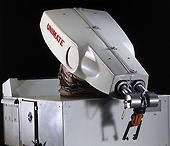
CP Rail had a large manufacturing operation in Winnipeg that had been planned for a modernization and technological ‘makeover’. One of the ‘makeovers’ was a 50 year old horizontal milling machine operation that was processing heavy forged steel plates: they had been manually handled at a rate of about 60 per day. So this became my first big automation venture. It turned out to be the first non-automotive industrial robot application in Canada (and of the first 10 in North America). The robot selected for the task was a Unimate 2000 (serial number 00125 if I’m not mistaken 😉 which had a maximum lifting capacity of about 75 lbs. and operated with 6 degrees of motion: 5 for the robot plus 1 on the clamping hand/head.
One of the constraints of the robot was that it could only program 125 user-defined points in space and there was no thought, at that time of having continuous path motion…it was all point-to-point movement. (In fairness there were thoughts of continuous path motion!!! As any ungrateful/ enthusiastic user of new technology will attest we always ask (sometimes annoyingly so) why this really neat bit of hardware or software doesn’t do EVERYTHING…Oh!!! that will be available in the next “release” or 2). All of my industrial engineering training was put to the test to ensure that the steel plates could be picked up, placed in the machine fixture, removed and palletized while efficiently using each point in space as frugally as possible! We were able to store the programme for each part number on a standard cassette tape and kept a library of tapes for different production runs.
Back then the robot CPU and memory were comparatively primitive. The Unimate’s memory was a glass/copper wire encased drum about 6” in diameter and10” long. Compare that to a terabyte of portable storage that you can hold in the palm of your hand! Physically the memory housing on the Unimate was almost the size of the MakerBot Printer… WOW! Flash forward to ArtEngine lab 38 years later…

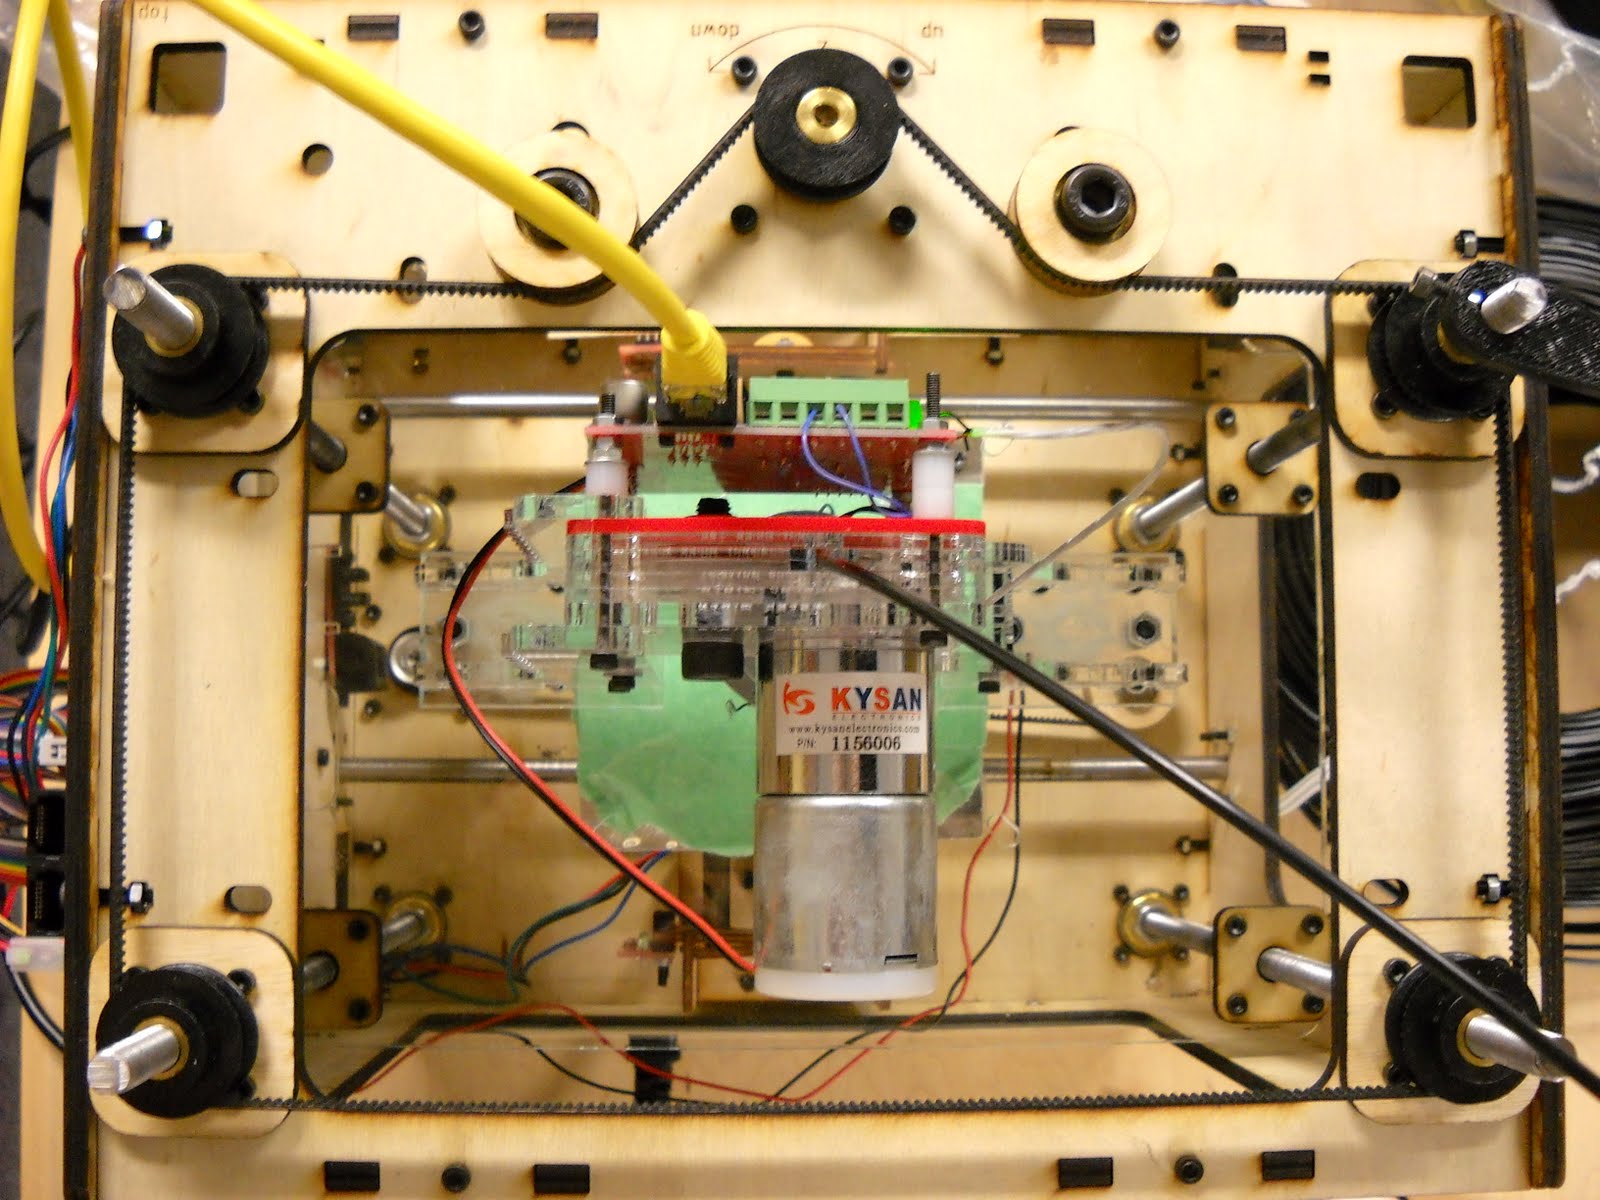
Andrew Plumb presented the encore show piece performance of a 3D printer. It was impressive. The unit from MakerBot Industries, Model Cupcake CNC was showcased in the latest (Vol 21) of Make (It’s a great mag .. I just got my new subscription). The ‘Cupcake” is a 3 axis unit moving on X,Y and Z axes carrying a heated extruder head which extrudes/deposits molten plastic on a continuous path as directed by the attached computer. Now we’re all used to seeing a printer doing 2D but to have it buildup a depth on the 3rd axis was alot out of the ordinary. Over a period of about 20-30 minutes a full size, fully functional ‘referee’ whistle was formed, built, manufactured. Think abot that! And yes it blew the shrill sound that one would expect. The ‘Cupcake’ kit (some assembly required) can be purchase for approx 1000 US$.
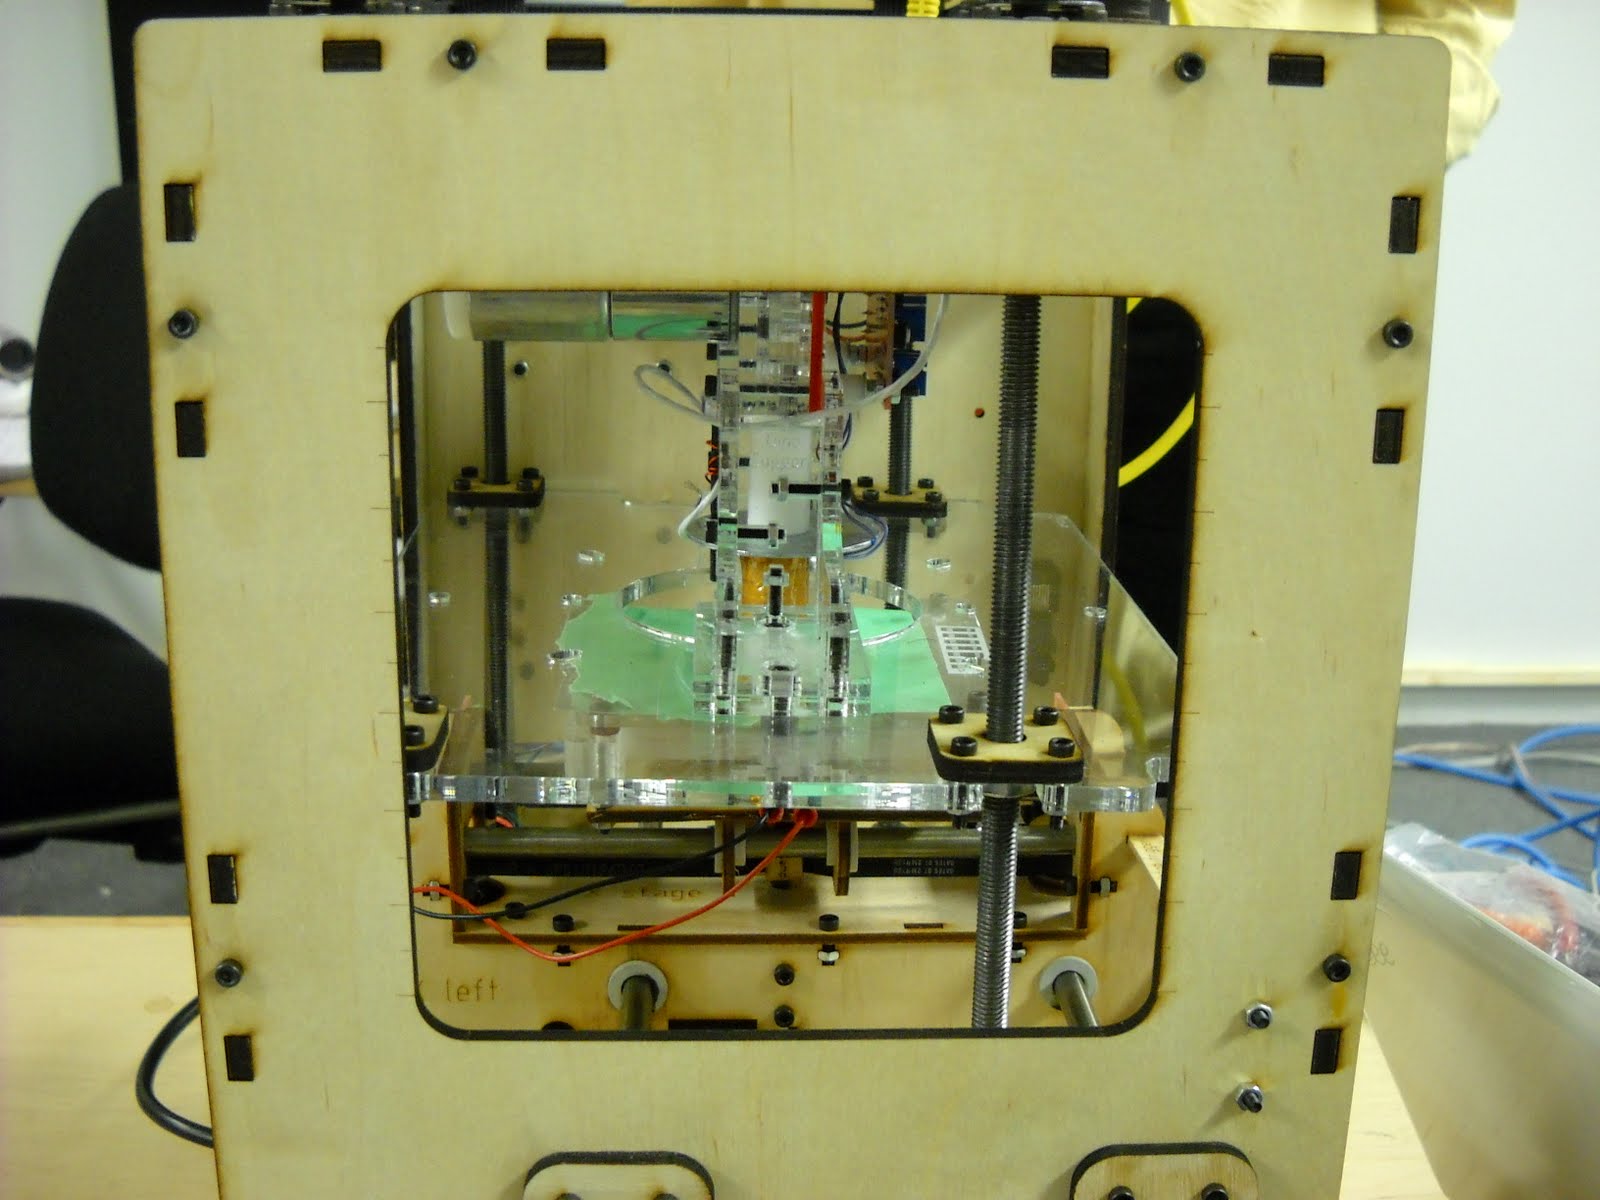
Seeing this miniature manufacturing cell caused the flashback to my early manufacturing and automation days. A lot of metal manufacturing is about taking a chunk of metal and cutting or drilling, or milling material away and what’s left is the piece that you wanted to make. The material you removed is all scrap…and there’s usually lots of it. The ‘3D Printer’ takes the exact opposite approach…It starts with nothing! You tell it what the piece should look like and it builds it from scratch. Exactly!! No scrap!! I’m thinking that the environmental advantage of that should be a huge bonus notwithstanding the turnaround time for concept, design, prototype and the flexibility of the dreamer asking, “What if?”.
Andrew explained that there is a company in Europe that actually produces pieces in stainless steel and bronze (He had some samples). It’s a 2 step process using the 3D printer to lay the shape down with micro stainless balls using a bonding glue and then using a sintering process to infuse the bronze resulting in a impressively robust precision casting.
This technology is amazing now but its going to be really really amazing what its going to produce when they get the entire unit to operate in 4 or 5 axes.
So if there are any designers or dreamers out there take a look at this technology or talk to Andrew.
Dennis Stec
Tags: CNC, Cupcake CNC, MakerBot, ModLab
Hey Dennis,
It was great meeting with you. I'll keep lugging out the MB until we get something more permanent on site. 🙂
For all the gory details on Shapeways' bronze-infused stainless steel process, see http://www.shapeways.com/materials/stainless_steel. I should be receiving my next SS creations by Shapeways this coming week.
Pictures of my MakerBot build process and related material can be found at my Flickr set here: http://www.flickr.com/photos/aplumb/sets/72157620517874219/
The whistle (v2) design source files can be found at thingiverse: http://www.thingiverse.com/thing:1046
Looking forward to many more meetings to come!
Andrew.
Sounds like it was good meeting, looking forward to the next one.
Also great to get Dennis' viewpoints.
As for 3D printers, I'm excited to see where this goes as we're obviously only scratching the surface . . .
Cheers,
ao.
Cheers, good article.